Polishing opal
The last stage and the most visible one. What goes on the wheel, at what speed, and how you know when it is done.
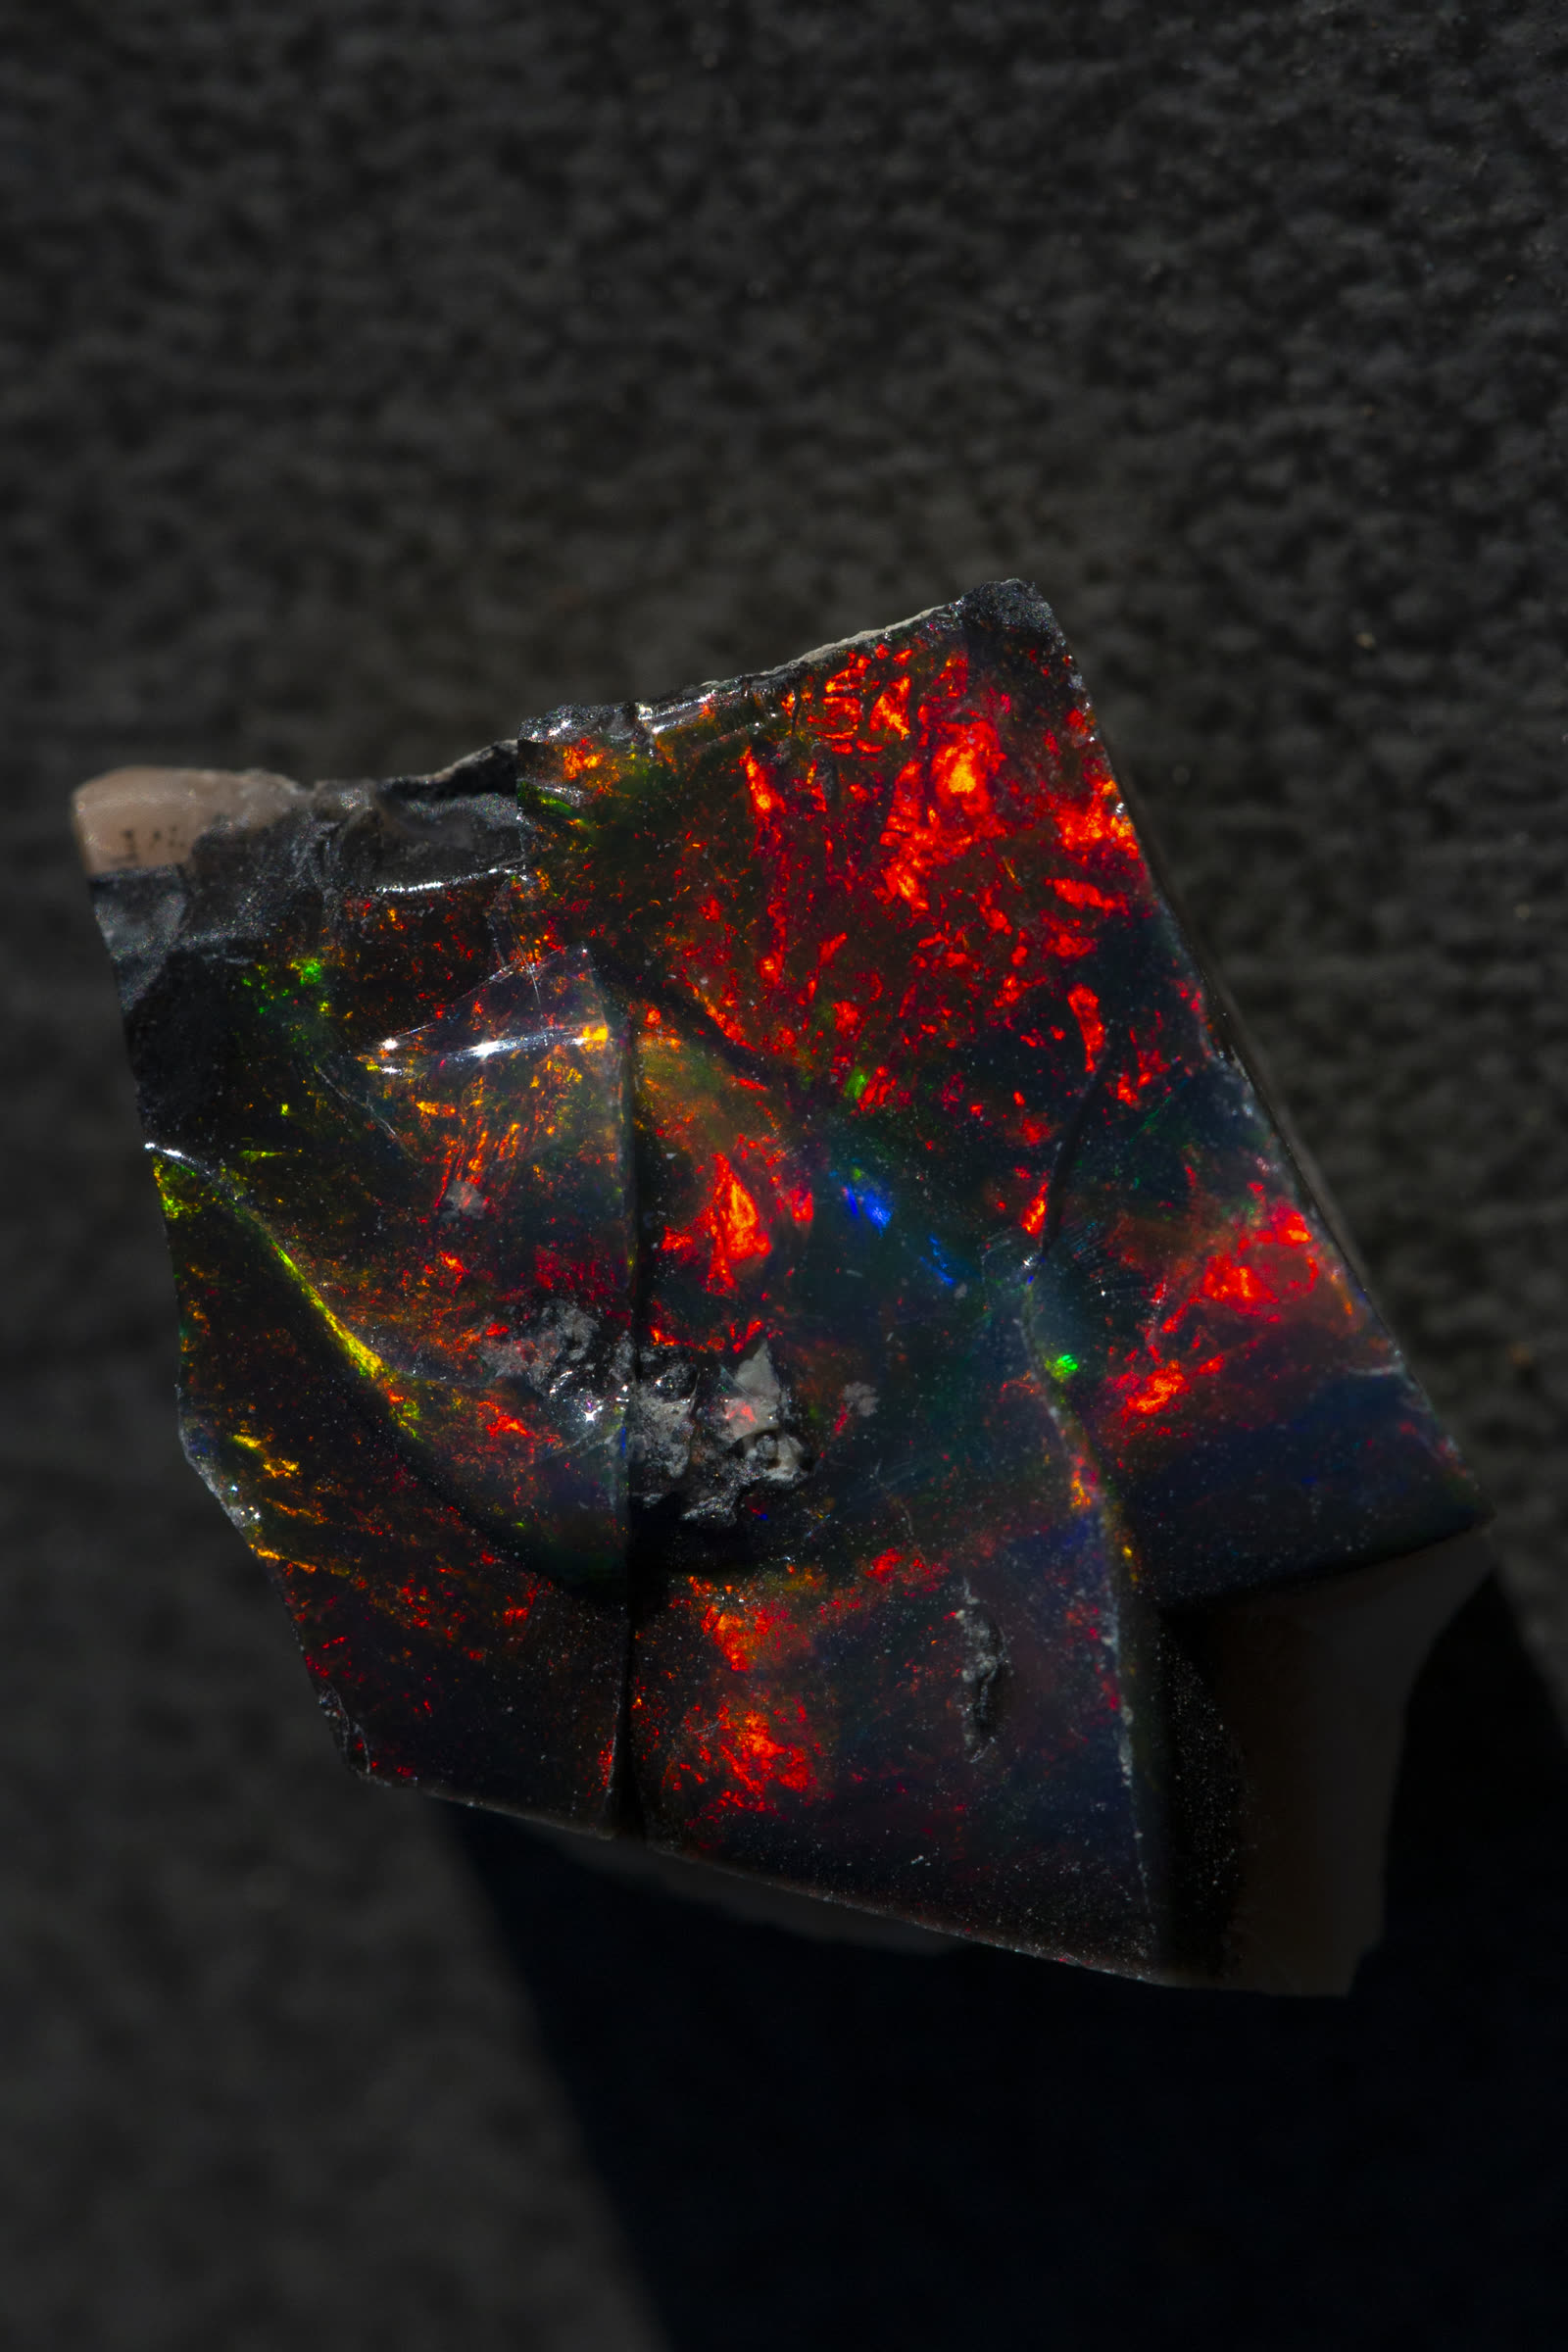
Polish is the last stage and the most visible one. A stone off the 3000-grit pre-polish wheel looks almost finished — the surface has a slight sheen, the color is visible. Polish removes the last microscopic scratches that the pre-polish wheel left. Those scratches scatter light at the surface and produce the faint haze that separates an almost-finished cab from an actually finished one.
For opal, the polishing wheel is leather, felt, or canvas — soft enough to conform to the dome without cutting. The compound is cerium oxide mixed with water to a thin slurry. Cerium oxide is standard for opal because it is fine enough to polish without scratching the surface at the speed and pressure used. Tin oxide also works. Aluminum oxide is too aggressive for opal and will scratch it.
The point-source test
Hold the stone near a single-point lamp and look at the reflection of the light source in the dome surface. If the reflection is a sharp, well-defined point or circle with a clean edge, the polish is working. If the reflection has a soft, fuzzy halo around it, micro-scratches are still scattering the light. Go back to the pre-polish stage — the 3000-grit wheel — and make sure that step is fully clean before returning to the polish wheel.
One mistake: over-polishing. Too much time on a soft leather wheel with compound slowly rounds the sharp break where the dome meets the girdle — the crisp geometric edge becomes a soft curve. This does not affect the color, but it changes how the cab sits in a bezel and how it reads as a finished piece. Take the stone off the wheel as soon as the point-source test shows a clean, sharp reflection.