How to read rough opal
Before anything gets cut, it gets watched. What you're actually looking for in rough, and why it matters.
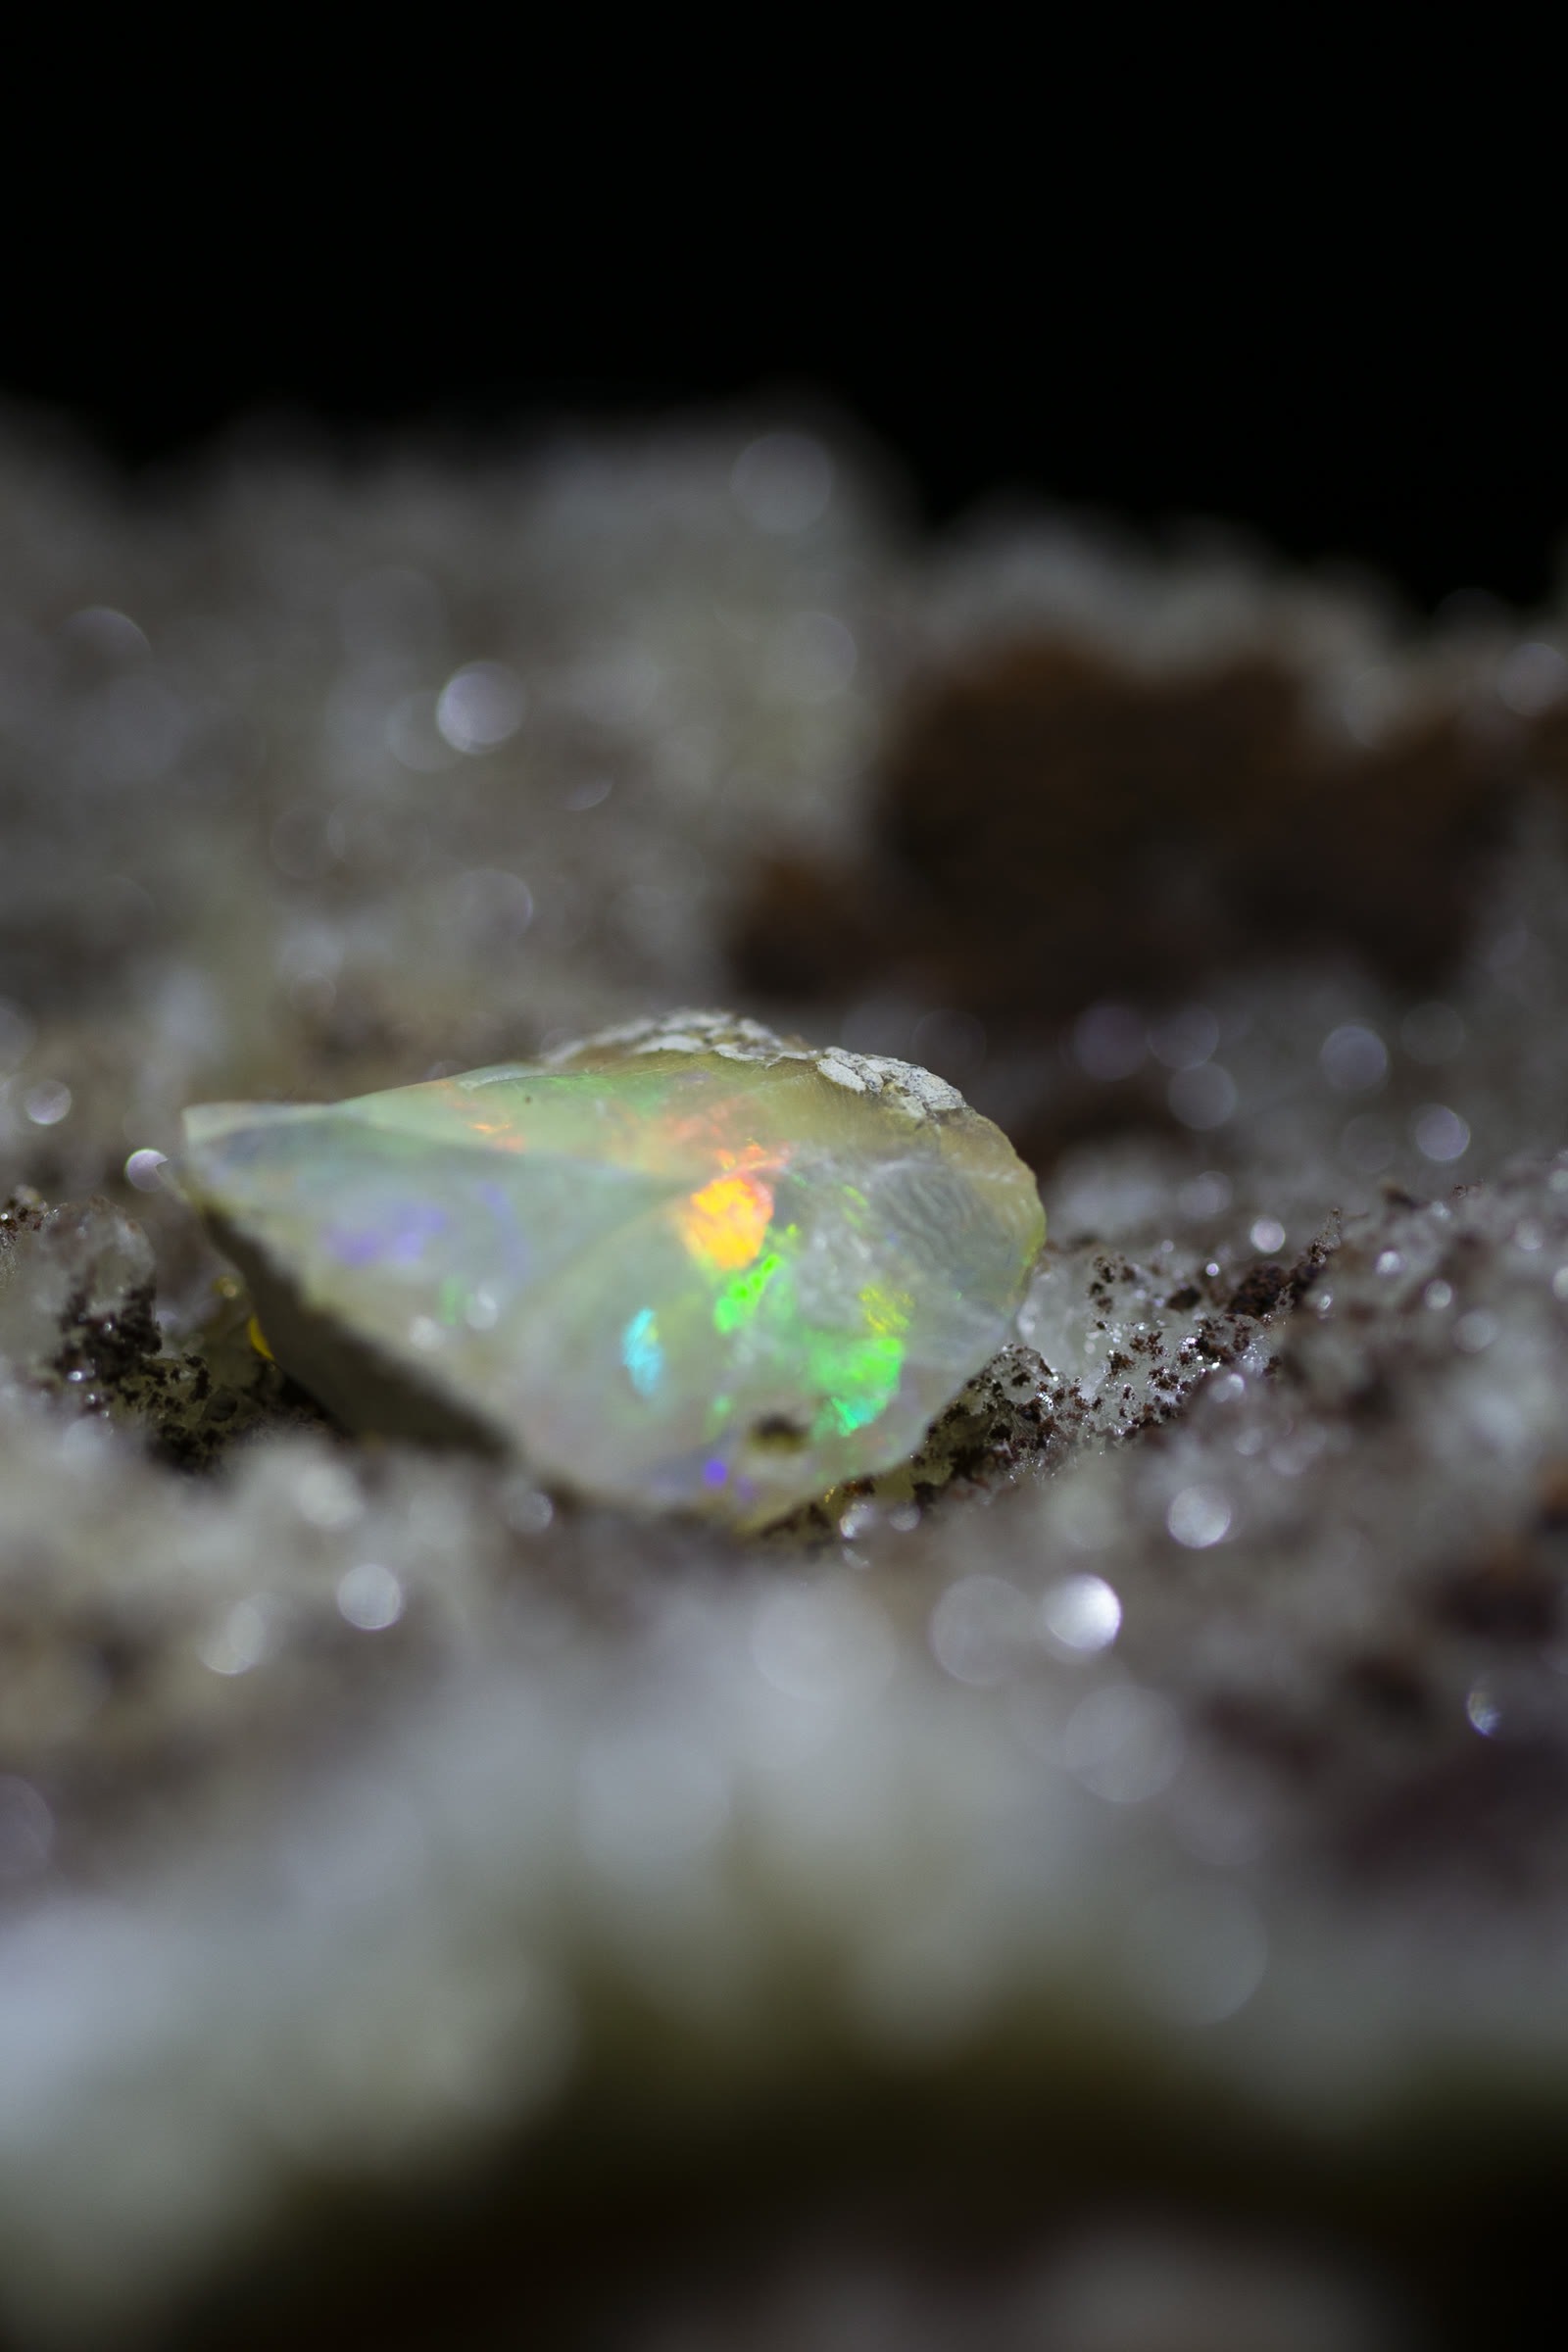
New rough comes in and the first thing that happens is nothing. You put it down, preferably somewhere with good natural light, and you look at it. Not with a loupe — that's later. Just looking.
What you're mapping at this stage: where the color lives, whether the fire sweeps smoothly or breaks into patches, where the inclusions and fracture lines are, how the stone's orientation relates to where the color is strongest. All of this before a wheel touches it.
Body tone first
Body tone tells you what kind of stone you're dealing with before anything else. Crystal: you can see through it; the color is inside the stone and lights up from within. White: the body is opaque and white; the color sits on top and flashes. Dark grey to black: the body absorbs light and makes the play-of-color pop. Each body tone calls for a different cutting approach and produces a different result.
Then the color bar
The color bar is the zone in the stone where the precisely ordered silica spheres sit — the part that produces play-of-color. Your job before cutting is to find its edges. Where does the color start and stop? How thick is the bar? Is it flat and even, or does it run at an angle through the stone? The preform you cut and the final cab orientation both follow from those answers.
Most cutting mistakes happen because someone didn't map the color bar before starting. The saw opens a window the eye couldn't fully read from the outside, and the cut was already wrong. Watch the rough long enough that you know what's inside before you open it.