How to photograph opal
Opal photography is about light placement, not equipment. Here is the setup that works.
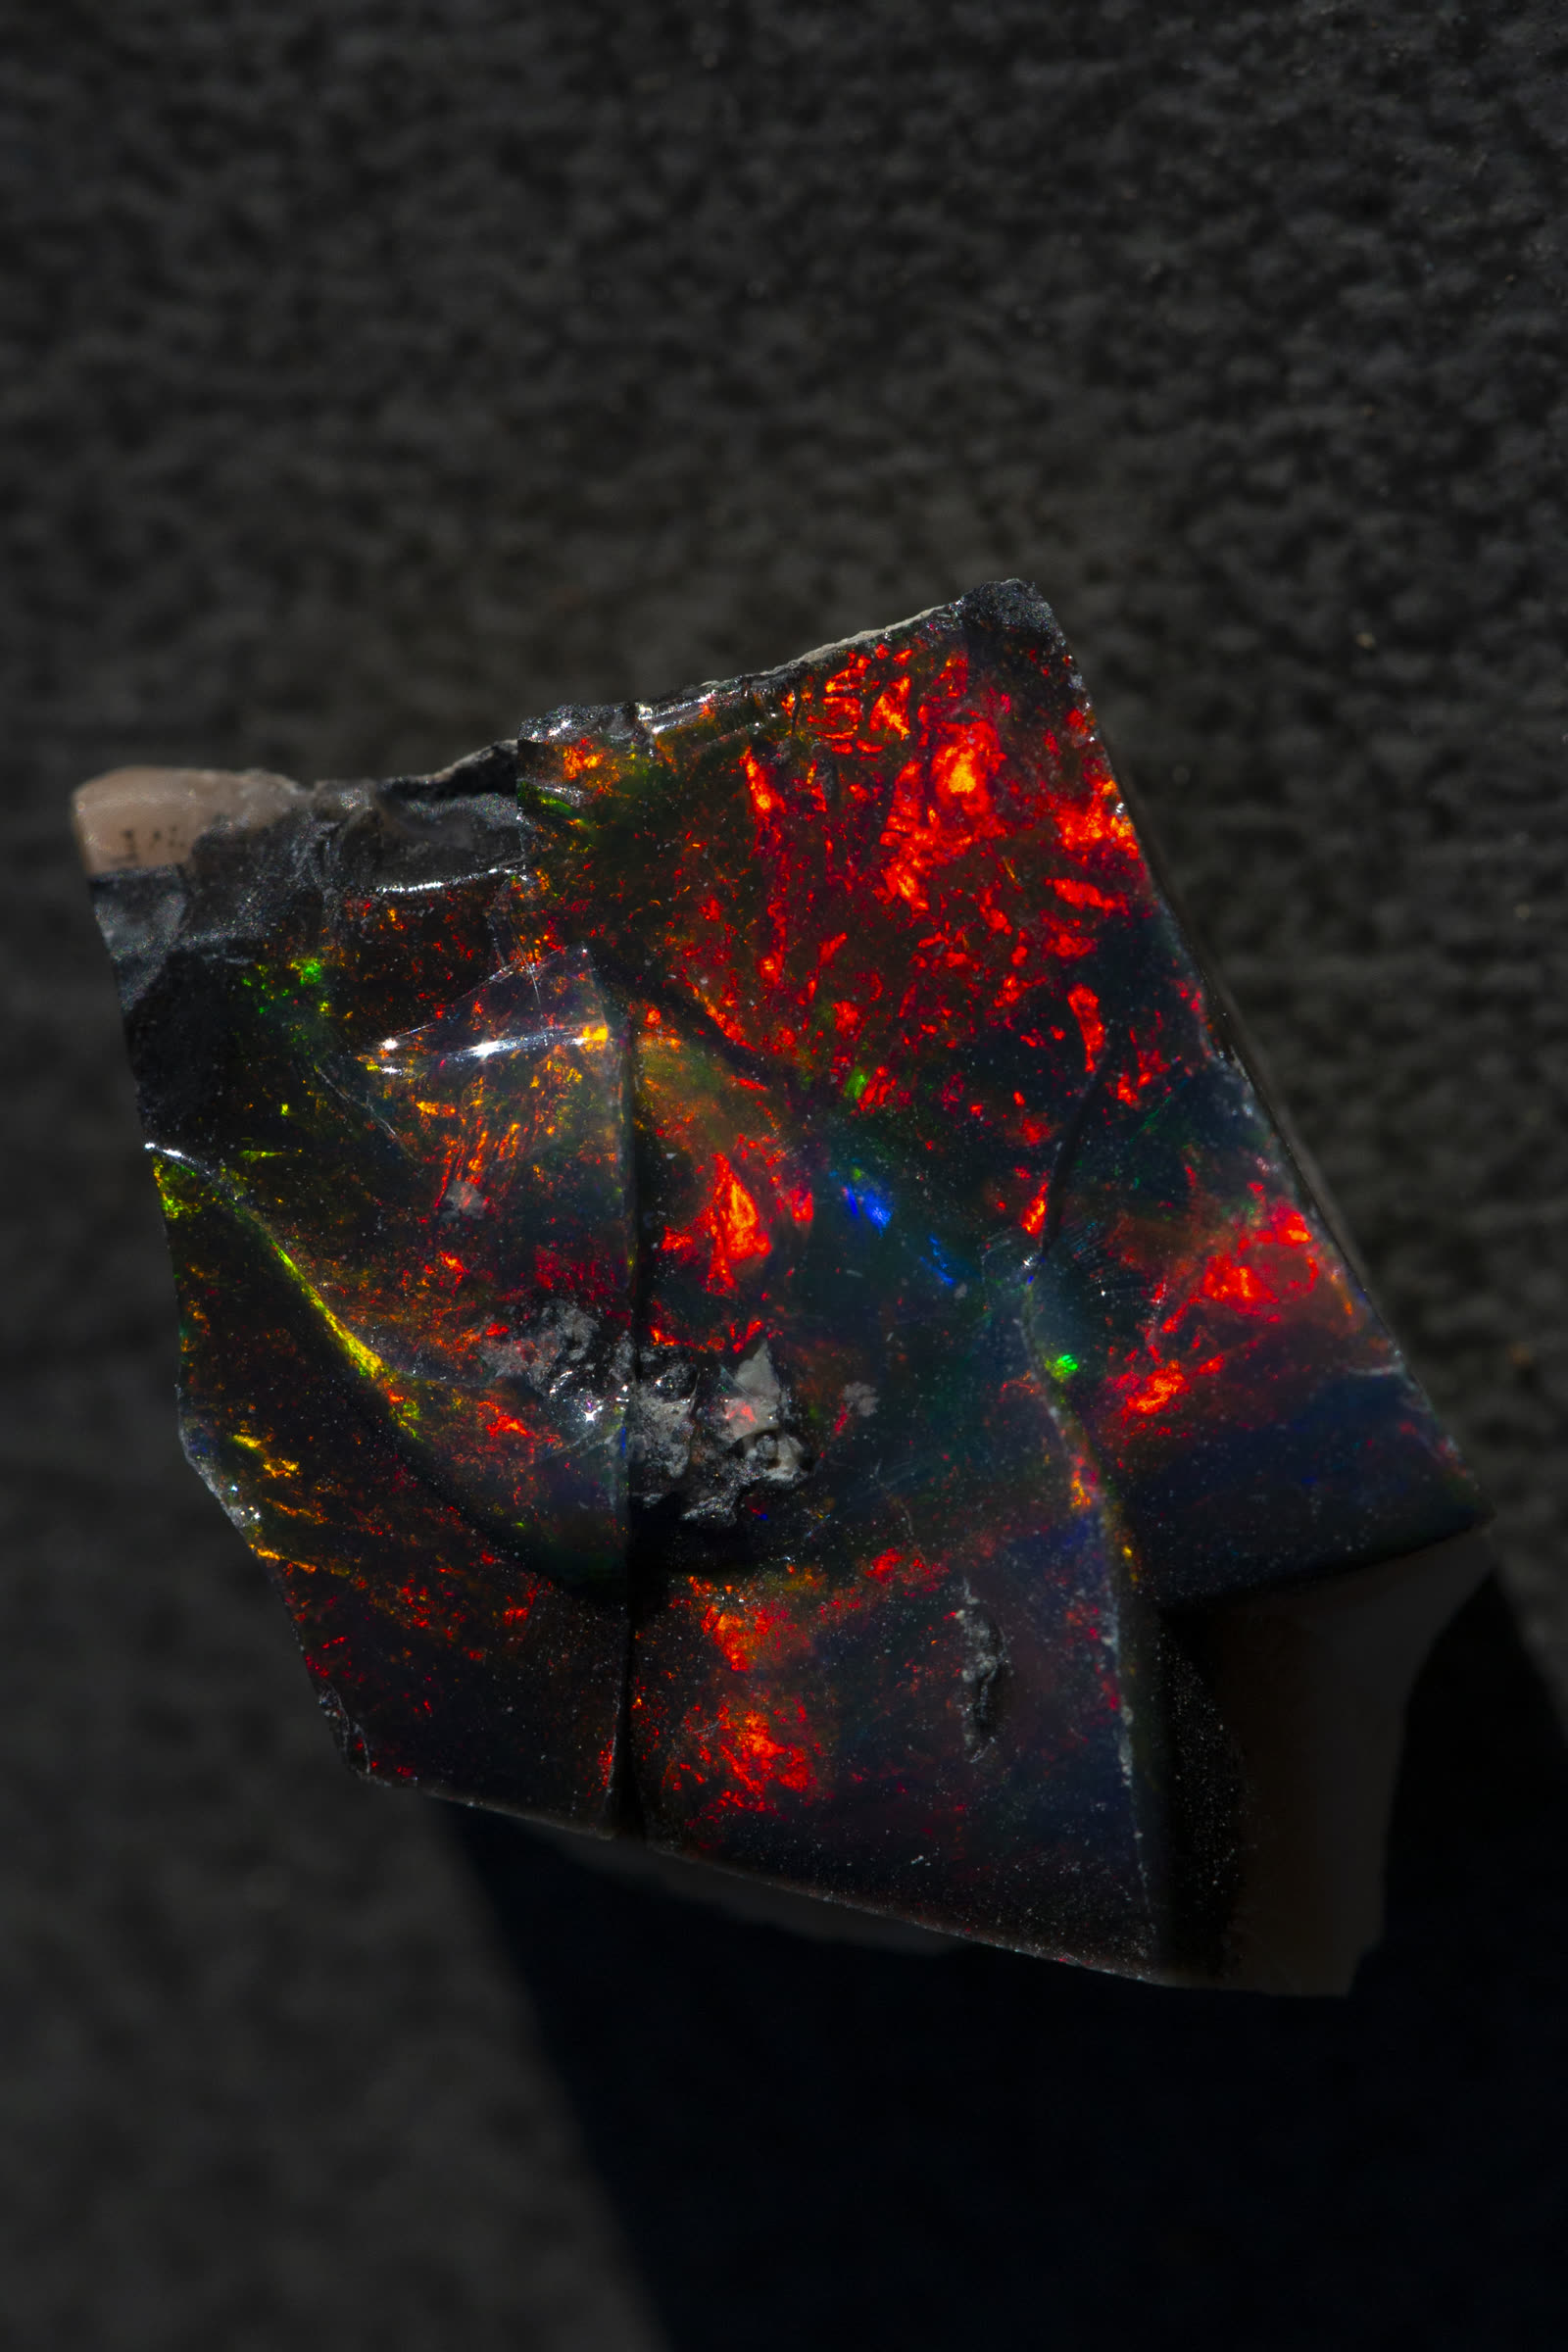
Opal photography is about light placement first, everything else second. The same stone that photographs flat in the wrong light looks electric in the right one. The three setups worth knowing: direct point source from above and slightly to one side — the standard play-of-color setup, maximum contrast; diffuse reflected light off a white card — best for showing body tone and surface texture without hot spots; backlight through the stone — for crystal and translucent material to show internal structure and depth.
Before locking down the camera, rotate the stone slowly through its full range and find where the best color appears. That is your shot angle. A small piece of museum putty or modeling clay holds the stone at the right position without marks on the surface. The light position that shows the most color is usually above and 20 to 30 degrees to one side — not directly overhead, which flattens the play-of-color, and not so far to the side that only one edge fires.
Video beats stills
A two-second clip of someone slowly rotating the stone tells a buyer more than ten still frames. Record in the same point-source light you would use for stills, rotate steadily through about 120 degrees, and keep the motion slow enough to see the sweep of the play-of-color. This is the closest a screen can get to the in-hand experience.
Background: matte black for dark-body and crystal opal — nothing competing with the color. Matte white or gray for light-body opal where the body tone itself is part of what you are showing. Shiny backgrounds create uncontrollable reflections. Textured backgrounds pull attention away from the stone. The background should be the least interesting thing in the frame.