Orienting the color bar
The single most consequential decision in cutting opal — made before the first wheel pass.
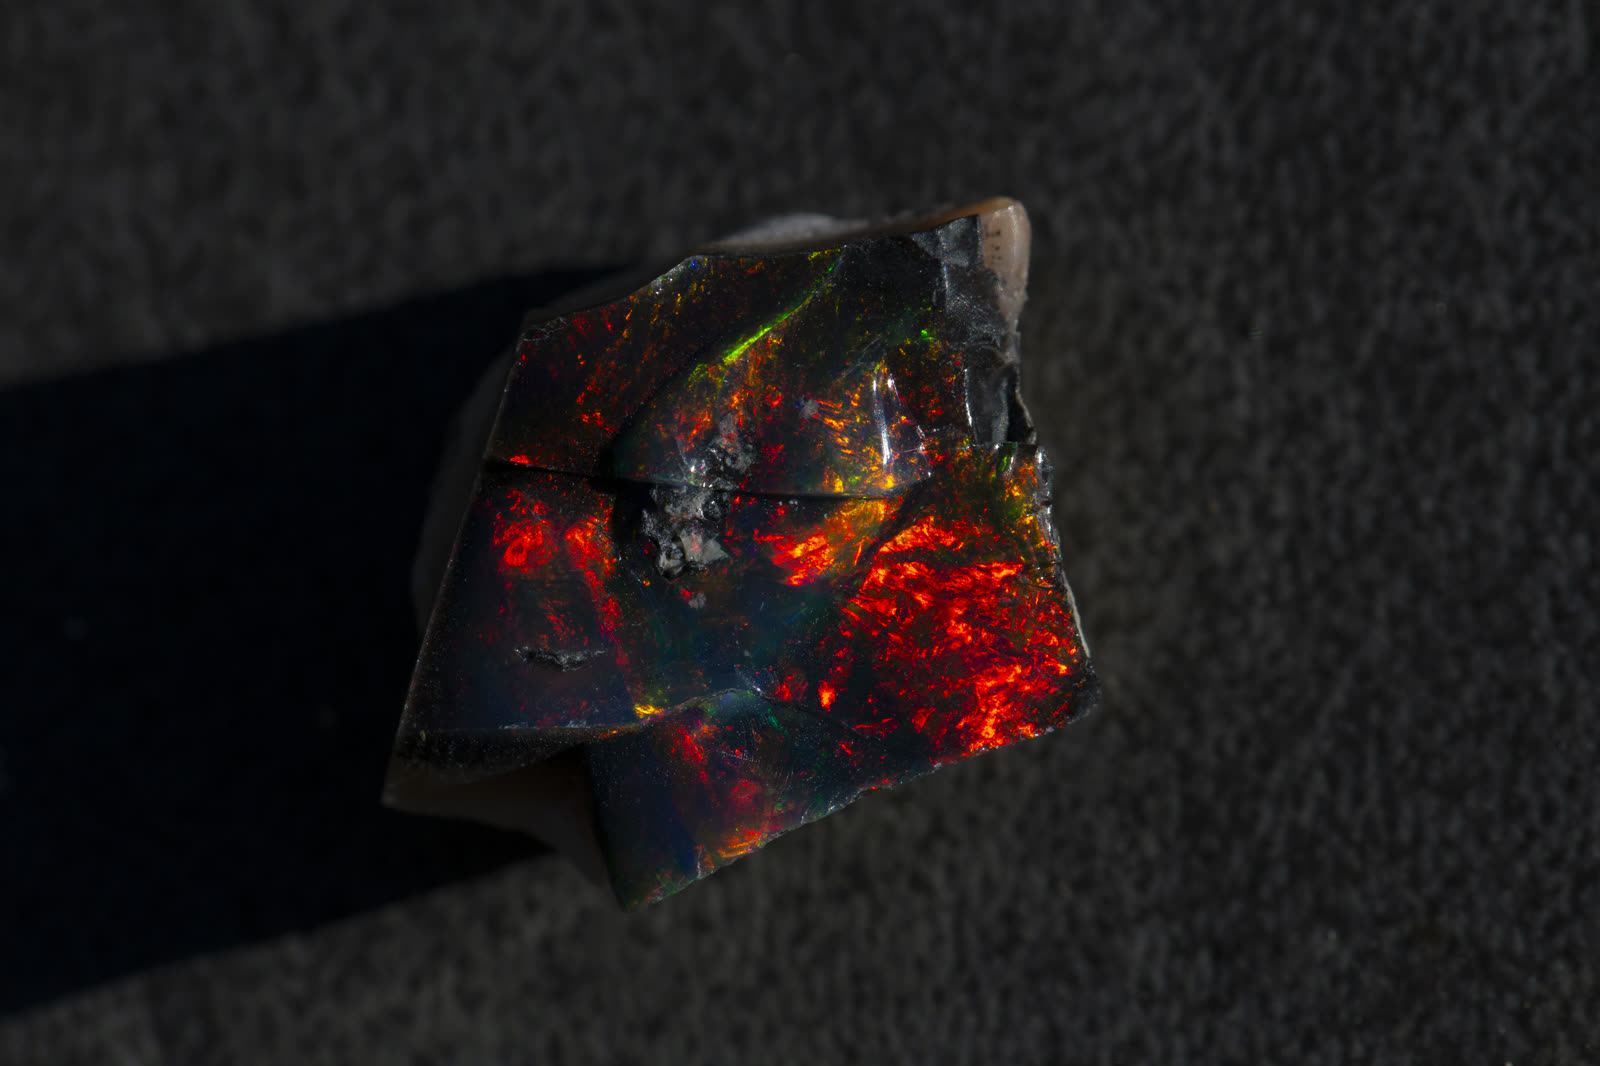
Every cab starts with an orientation decision: where does the face of the finished stone sit relative to the color bar in the rough? The color bar runs in a specific direction, at a specific angle, at a specific depth. Where you place the grinding plane relative to that determines whether the finished cab shows maximum color or minimum. Get the orientation wrong and the rest of the cut does not matter.
The basic goal: cut so the color bar runs roughly parallel to the girdle of the finished stone. When the color bar is parallel to the face you are grinding, looking at the finished cab face-on means looking directly into the color zone. When the color bar runs at a steep angle to the face, the play-of-color is strong at one edge and fades to nothing at the other — color creeping across the face rather than filling it.
Dome height and the viewing angle
Dome height is the second variable. A high dome narrows the angle at which the stone shows its best color but concentrates intensity in that window. A low dome broadens the viewing angle but diffuses the color across a wider range. For directional fire that switches dramatically with angle — common in black opal — a higher dome plays to that quality. For wide-angle color, a lower dome shows more of it.
Mark the orientation on the rough with a Sharpie before the first cut: where the face will be, where the girdle sits. Changing your mind after the first wheel pass costs material that does not come back. On a piece of rough where the orientation choice is genuinely unclear, the answer is almost always to cut a small window with a fine diamond file first — exposing a small patch of the color bar at the chosen angle — before committing.